The following post is about how to install a do-it-yourself huge pegboard wall the right way. I have one located on the east wall in my laundry room and it is a wonderful addition for this room. I am sure it will add the finishing touches to make my laundry room one-of-a-kind!
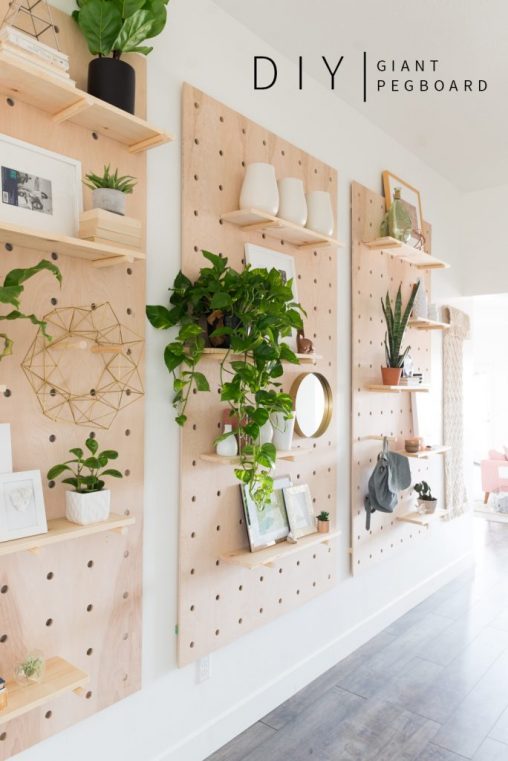
Due to their interchangeability, you can mix and match, or customize these pegs at your disposal. This pegboard is a great décor piece and capable of replacing an 80’s staple unit.
Things You Need To Build Your Own Furniture
For each panel:
- (1) A normal pegboard of 4m x 8m
- (1) A plywood sheet from cutmyplastic.co.uk of 4m x 8m x 0.5 inches (width x length x thickness)
- (4) 1″ x 2″ x 3.5″
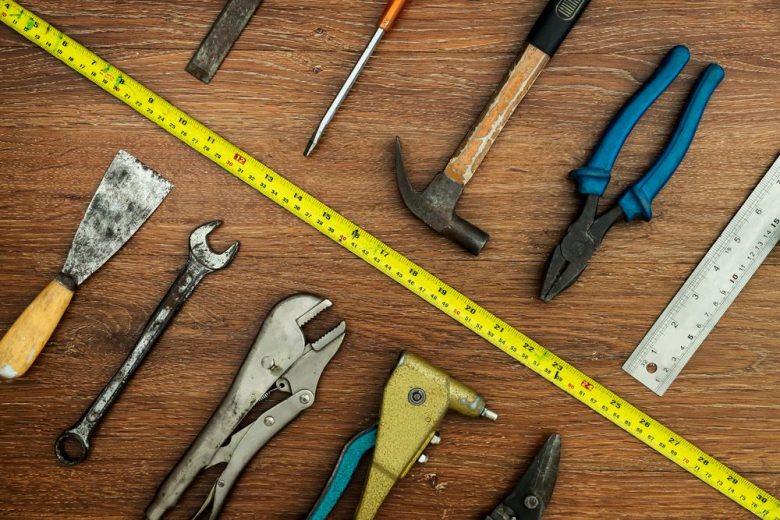
You also need:
- Forstner drill bit of 1″
- Drill
- Level
- Nail gun
- (you might need to use a saw)
Since I was not doing the entire wall, I cut the strapping pieces at the back to be 6 feet long as my pegboard. The strapping pieces for pegboard attachment only come in handy when you need to create a small distance between the wall and the board. This distance helps you put the little handy-things into the holes of your pegboard.
Let us begin your work with the drill bit sets, several wood screws, and around three 0.25″ strapping pieces that have been cut to the length of the pegboard. To move them to the center of the plywood, I split the 6″ length into two then started there. This means the first and the last row of pegboard holes are 3″ off the edge.
Next, I used a marker to circle-mark every sixth hole both vertically and horizontally.
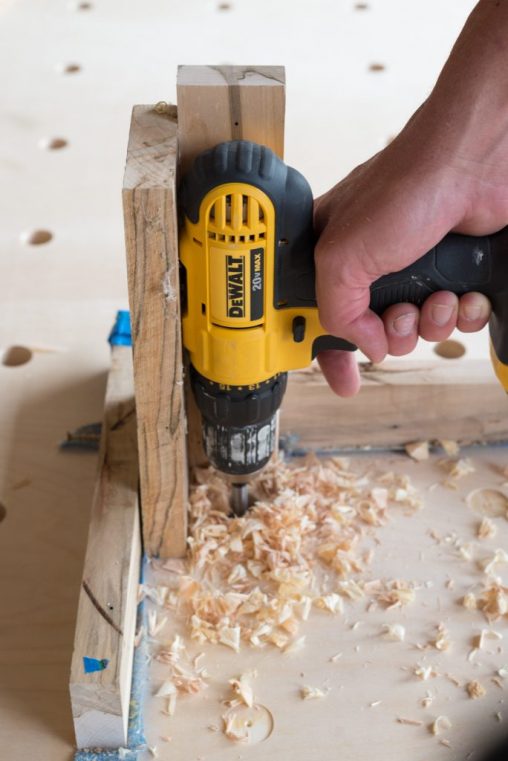
After that, you drill the first hole at the marks with a spade bit. Try your best to hold the drill straight and upright, thus making your dowel rods even when you finish. You can keep an eye on the level sitting at the base of your drill to watch whether its green bubble is in the balance or not.
After finishing the first hole, you insert a dowel rod. Try to fit it snugly. One thing you should note after slightly drilling the plywood is you have to “peel off” with care the outermost veneer layer before drilling it at full throttle.
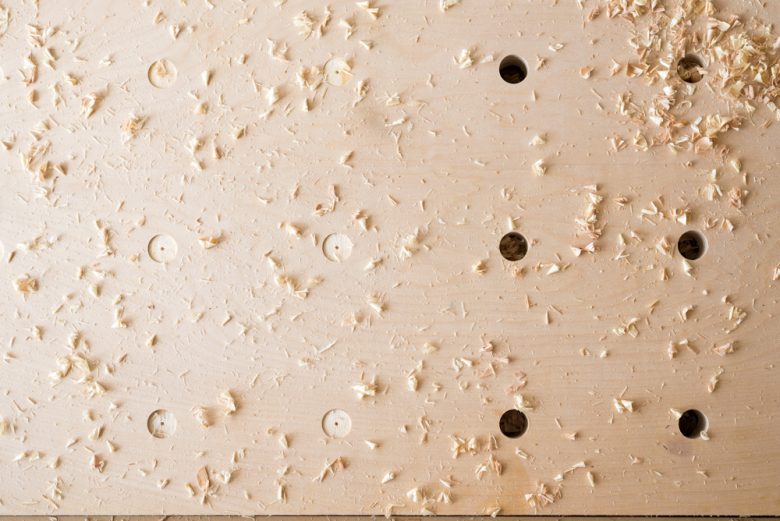
After passing your dowel test with flying colors, continue to drill the remaining holes.
The most difficult part involved with this project is to make sure you keep your drill 90-degrees straight while drilling the holes. You can use some scrap wood in different sizes and create a pocket at the corner to guide your drill straight downwards.
When you finish drilling all those holes, you should brush all their sawdust off, then flip over that panel. If the panel you are using is the same as mine, its reverse side will have a lot of splintering. Do not worry since nobody will see the reverse side of the panel. All you need do is to break off a few sizeable splinters for the panel to lie flat onto the wall.
Once you have felt satisfactory, flip back the panel and use sandpaper to make the front smooth. In order to do away with jagged edges, you can curl up your sandpapers then stick them into the holes.
If you are now sticking to your plan instead of following these measurements, you should measure how deep your shelves are then sum up that measurement with the thickness your panel has. The outcome is the desired length of your dowels. Use a saw to cut those dowels, or if necessary, you can let some hardware store do the job.
Not until I came to the final step, did I have the shelves cut to the length I desired. Depending on your preference, you can choose the number and the length of your shelves. Insert several dowels, then go for different configurations. Finally, have your boards cut nicely in the way you have determined.
Some Tips On How To Install A DIY Huge Pegboard Wall
- Arrange your wood panel in a way that it is all facing upwards. Thus, you can prevent your drill bit from damaging the veneer layer when punching through the panel’s back.
- Use another plywood piece or some wood to insert underneath your panel and raise it up. By doing it this way, you can avoid drilling the ground by accident and ruining the drill bit.
- If you need to make a board that calls for two visible sides and significantly lessens its punch-out explosion, you can make use of a plywood sheet. That sheet serves as a stabilizer behind each hole you are drilling.
- Although it is not a daunting task to install your pegboards onto the laundry wall, you need the help of at least two people.
I really hope to see you doing this project. If you have any questions, do not hesitate to comment below!