The time has come for one of the most celebrated holidays of the year. Break out your Santa statues, cover the doorways in softly lit garland, decorate your Christmas tree, and burn a gingerbread scented candle. It is time to get your craft on! And, if you have children running around in the house, then there is no better time than now to break out the crafts.
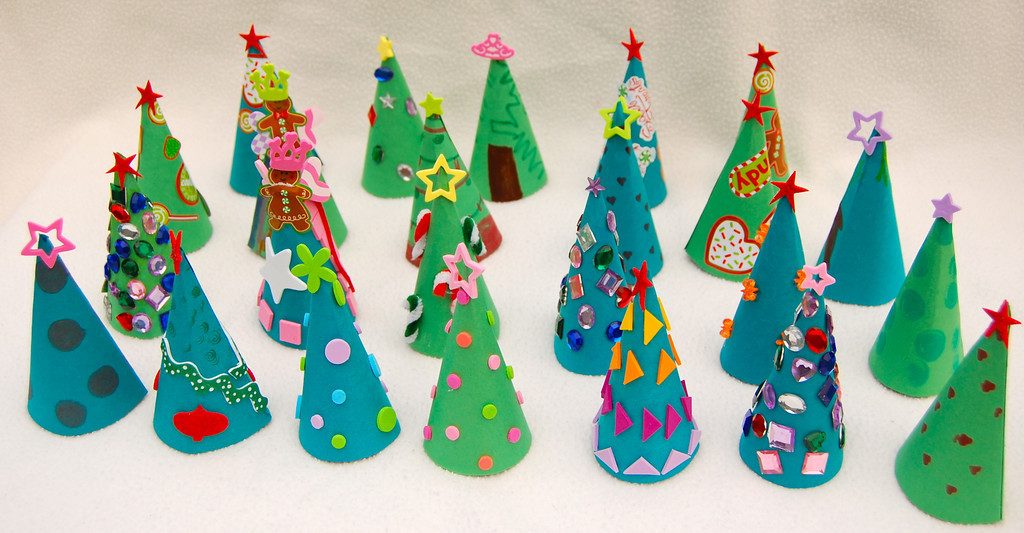
While the kids are bouncing off the walls, and you’re counting down the days until they go back to school let’s get inspired by some fun, festive, and downright silly easy to make crafts that everyone can get into. One of the easiest ones to do is Christmas Cones. No, they’re not the traditional, spiky pine cones you would typically think of. These Christmas Cones are courtesy of Kate Hadfield over at the-lilypad.com.
Using A Pattern
Kate has designed some incredibly cute patterns you and the wee ones can decorate any way you see fit then cut out (with kid-safe scissors no doubt). Once you are done decorating them with the most festive colors and adornments, glue the seam together, and your Christmas Cone is ready to go. Adorn any surface in the house with these cute little cones, whether it be your mantle, table, counter, or your child’s nightstand. DIY Christmas cones are a fun and easy way to welcome in Christmas with a hearty HO-HO-HO!
Going Solo
Of course, if you are still inspired, and you have already done the templates, why not create your own holiday patterns. This time, just use the templates to trace the outer shape onto a second piece of paper. You can use a tracing light or a window to find the line you need to trace. Or, try reinforcing the line with a thick black marker so you can see the line in natural light, and then tracing onto the second sheet of paper that way.
Decorating Your Christmas Cone
The only thing that will limit you with these Christmas Cones is your own imagination. So, get creative and have fun. Be inspired by the crafts and tools around you. Here are some ideas to help your creative juices flow:
Crayons and Colored Pencils
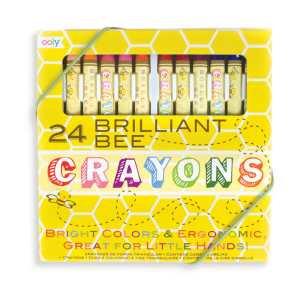
Trace over your design lines with crayon, applying medium pressure to achieve rich tones. Instead of filling in the body of the design with more crayon, choose colored pencils in various hues. This adds a bit of dimension to your Christmas Cone that makes it that much more fun to admire.
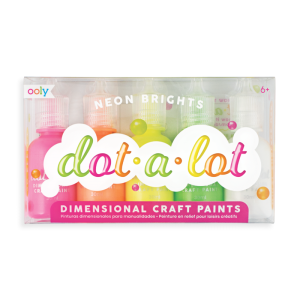
Puff Paint
Use puffy paint for added texture on your Christmas Cone. You can completely outline your design in this multi-dimensional paintor just adorn key areas you want to pop with a little extra holiday flair.
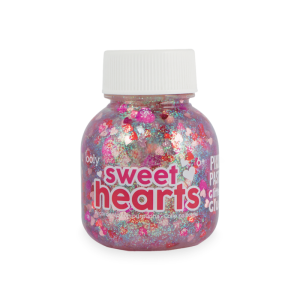
Glitter Glue
Who does not love a little glitter glue on their decorations to really make things sparkle? And there is no better time of year for sparkly effects than Christmas. Color in your pattern, however you see fit, then put on a dab of glitter glue here and there for areas you really want to pop out. White glitter is excellent for snowmen. Silver or gold glitter is perfect for holiday bells or Christmas stars.
Watercolor
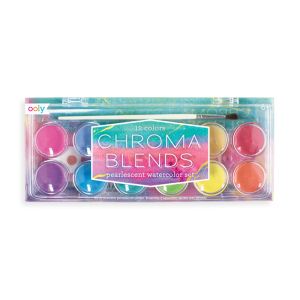
Watercolor is a beautiful way to add a colorful dimension to any paper-based craft. Try using watercolor paper instead of regular paper to make your pattern. Fill in all the different areas of your design by starting off softly with your watercolor palette and deepening the color to create vibrant pockets. Once your watercolor has dried, outline your pattern with black ink markers. Your color will pop off the pattern even more, giving your Christmas Cone a beautiful stained glass effect.
